

TL;DR:
- A professional headshot session is a structured experience with clear stages, including wardrobe check, lighting setup, coaching, and image review. Proper preparation of attire, grooming, and mindset enhances results, while real-time coaching ensures natural poses and expressions, leading to authentic, polished images. Post-shoot, images are lightly retouched to preserve your natural features, with quick review and delivery to meet professional standards.
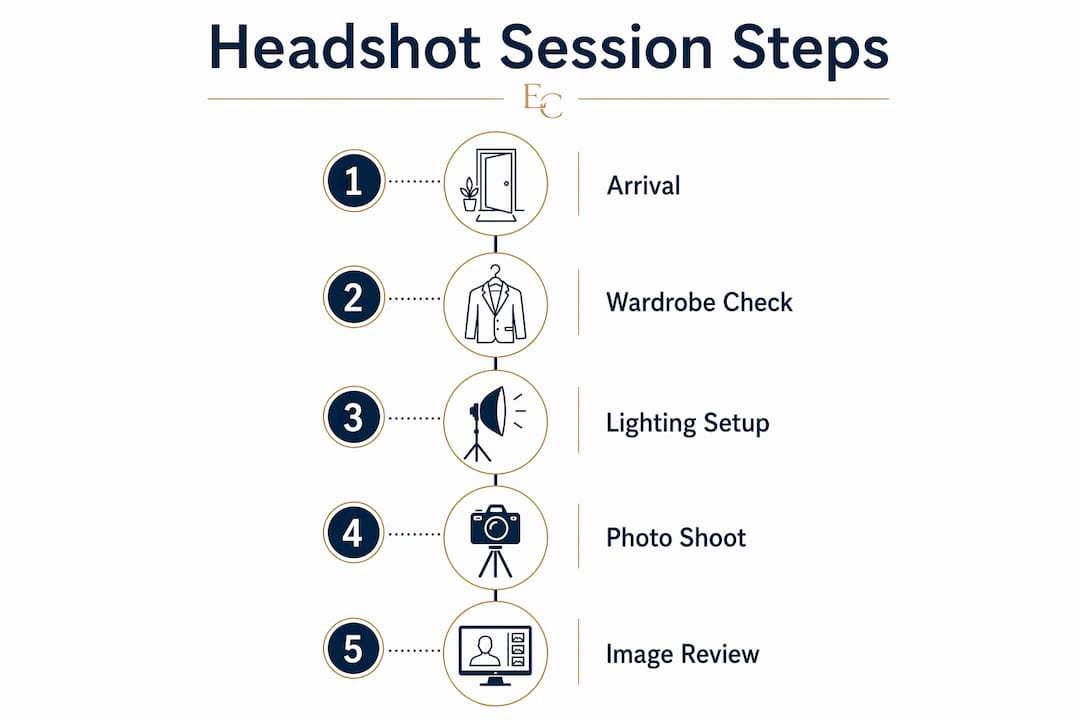
A professional headshot session is a structured, guided photography experience designed to produce polished portrait images that represent you authentically on LinkedIn, company websites, speaker bios, and casting profiles. Unlike a casual photo shoot, a headshot session follows a defined workflow: wardrobe check, lighting setup, active posing coaching, and image review. Most sessions run between 30 and 90 minutes depending on the package and number of outfit changes. Knowing what happens at each stage takes the guesswork out of the experience and lets you show up focused, calm, and ready to get great results.
What happens in a headshot session from start to finish?
A professional headshot session is intentionally structured in short stages to reduce decision fatigue and keep you comfortable throughout. Each phase has a clear purpose, so you are never standing in front of a camera wondering what comes next.
Here is how a typical session unfolds:
Arrival and wardrobe check. You arrive, meet your photographer, and lay out your outfit options. The photographer checks how each piece reads under studio lighting and against the backdrop. Colors that look great in person can wash out or compete with the background on camera, so this step protects your final images before a single frame is taken.
Lighting setup and test shots. The photographer adjusts the lights to flatter your complexion and create the catchlight (the small reflection in your eyes that makes portraits feel alive). Test shots confirm the exposure is correct and that shadows fall where they should.
Warm-up and coaching. A warm-up period of 10 to 15 minutes is standard and genuinely important. Casual conversation, light direction, and a few low-stakes frames help you relax before the photographer moves into the main shooting phase.
Main shooting phase. This is where the bulk of the session happens. Your photographer provides continuous coaching on posture, chin angle, shoulder positioning, and expression. You are not expected to know how to pose. The direction is ongoing and specific.
Image review and selection. Many photographers use tethered shooting, which connects the camera directly to a laptop or monitor so you can see images in real time. Image review typically takes 5 to 15 minutes and happens during or immediately after the shoot. You flag favorites, and the photographer notes which frames to retouch.
| Stage | Estimated time |
|---|---|
| Arrival and wardrobe check | 5 to 10 minutes |
| Lighting setup and test shots | 5 to 10 minutes |
| Warm-up period | 10 to 15 minutes |
| Main shooting phase | 20 to 45 minutes |
| Image review and selection | 5 to 15 minutes |
Sessions typically last 30 to 90 minutes in total, with longer sessions reserved for branding shoots or multiple outfit changes. A standard single-look headshot fits comfortably in the shorter range.
What should you wear and bring to your headshot session?
Wardrobe is one of the highest-impact decisions you make before the session starts. The right outfit reinforces your professional identity. The wrong one competes with your face for attention.
The core principle is to dress one level above your daily attire. A financial advisor who wears business casual daily should wear a suit jacket. A creative director who wears jeans and a blazer should lean into that look rather than forcing a corporate style that does not feel authentic. Solid, mid-tone colors photograph better than logos, heavy patterns, or pure black and white, which can create lighting and focus problems. Navy, burgundy, forest green, and slate gray are reliable choices across most skin tones.
Here is a practical headshot session checklist for what to bring:
- Two contrasting outfits. If your first choice does not read well under the lights, you have a backup without panic.
- Lint roller and steamer or iron. Wrinkles and pet hair are magnified on camera.
- Lip balm and blotting papers. Dry lips and shine on the forehead are easy to prevent and hard to fix in post.
- Clean glasses if you wear them. Smudged lenses catch light badly.
- A bottle of water. Staying hydrated keeps your skin looking its best.
- Any accessories you are considering. Bring them and decide on set with the photographer’s input.
Pro Tip: Avoid wearing a brand-new outfit to your session. Clothes you have worn at least once move more naturally with your body, which reads better on camera than stiff, just-purchased fabric.
Industry context matters too. Healthcare professionals typically photograph well in scrubs or a white coat over a solid top. Executives lean toward tailored suits or structured blazers. Actors and performers have more latitude with color and style but should still align wardrobe with the roles they are targeting.
How to prepare your grooming, makeup, and mindset
How you look and how you feel walking into the session are equally important. Both are within your control with a little advance planning.
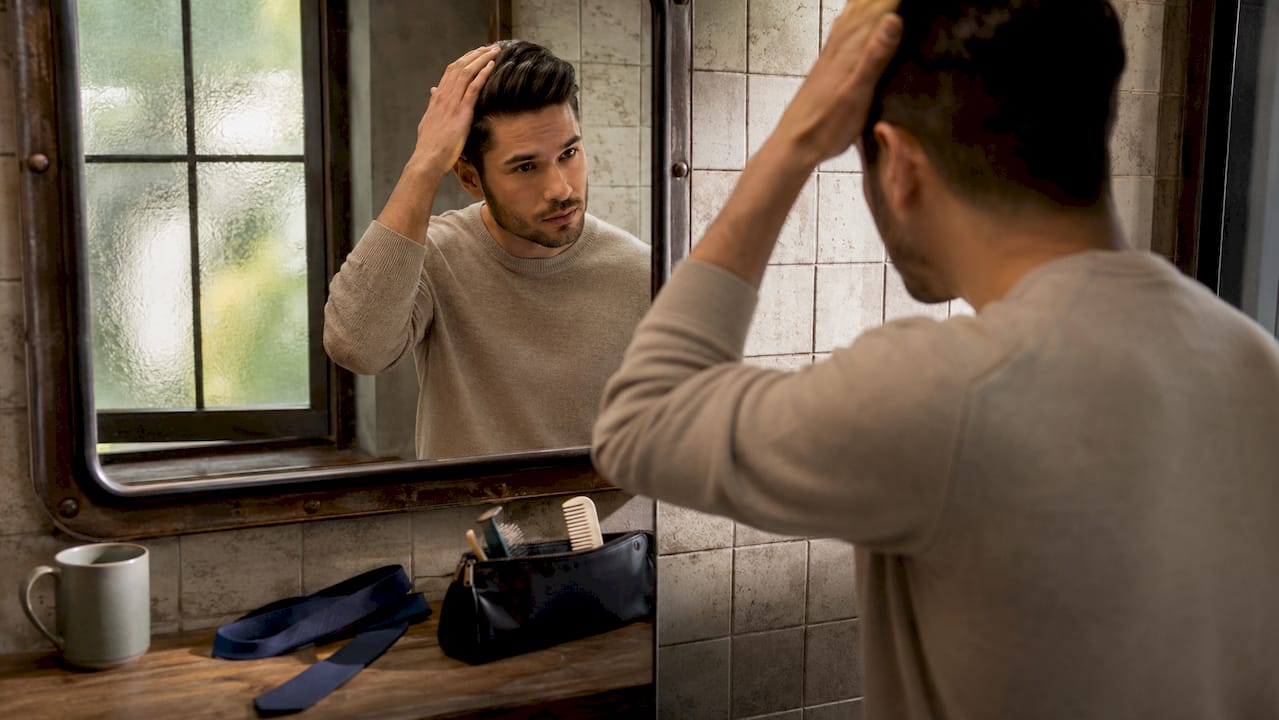
Grooming timing matters more than most people realize. Schedule your haircut 5 to 10 days before the shoot, not the day before. A fresh cut often looks rigid and slightly unnatural in photos. A few days of growth lets everything settle into a polished but lived-in appearance. The same logic applies to facial hair: trim and shape it a day or two before, not the morning of.
For makeup, the goal is a version of yourself that looks like you on a good day, not a theatrical transformation. Matte foundations prevent light glare, which is a real problem under studio strobes. Slightly enhanced features photograph well, but heavy contouring or dramatic eye looks can read as costume rather than professional identity. Avoid trying new skincare products in the 48 hours before your session. Reactions and breakouts are harder to manage than a routine complexion.
Pro Tip: Drink extra water the two days before your session. Hydrated skin photographs noticeably better, and no amount of retouching fully replicates the look of healthy skin lit well.
Mindset preparation is the piece most people skip, and it shows. Communicating your professional context to your photographer before the session, including your industry, where the images will be used, and any styles you want to avoid, leads to more targeted, usable results. At Eric Campbell Photography, this conversation happens before the camera comes out. You can also review mental preparation strategies to walk in with a clear head and genuine confidence.
What posing techniques and coaching can you expect?
Most people’s biggest fear about a headshot session is not knowing what to do with their body. That fear is valid and also completely unnecessary. Posing direction is built into every professional session.
Your photographer will coach you on the following throughout the shoot:
- Chin position. The single most impactful adjustment in headshot photography is chin forward and slightly down. It feels unnatural but defines the jawline and elongates the neck. Photographers call this the “Turtle” because you are extending your head slightly forward from your shoulders.
- Shoulder angle. Turning your body at a slight angle to the camera rather than facing it straight on creates dimension and avoids the flat, ID-photo look.
- Expression coaching. Directions like “smile with your eyes” or “squinch slightly” (a subtle narrowing of the lower eyelid) produce natural, engaging expressions. These cues help you avoid the frozen grin that comes from holding a smile too long.
- Head tilt. A small tilt of a few degrees adds approachability without looking casual. Your photographer will tell you which direction works best with your features.
The most common mistakes are over-smiling, tucking the chin too far back (which creates the appearance of a double chin), and tensing the shoulders. All three are easy to correct with real-time coaching. You can also review posing tips in depth before your session to arrive with a baseline understanding of what good positioning looks like.
How does post-shoot image review and retouching work?
Understanding what happens after the shutter stops clicking sets realistic expectations and helps you choose your final images with confidence.
Tethered review. If your photographer uses tethered shooting, images appear on a monitor seconds after they are taken. This allows you to give immediate feedback, flag strong frames, and identify any adjustments needed before the session ends. It reduces wasted frames and speeds up the selection process considerably.
Proof gallery delivery. After the session, you typically receive a proof gallery within one to a few days. The gallery contains the best frames from the shoot, lightly processed but not fully retouched.
Final image selection. You choose your favorites from the proof gallery. Most packages include a set number of final retouched images, so review your package details before selecting.
Retouching. Professional retouching removes temporary blemishes but preserves permanent features like wrinkles, laugh lines, and natural skin texture. The goal is authenticity, not a digitally altered version of yourself that colleagues will not recognize in person. More advanced edits are available as add-ons with most studios.
| Retouching type | What it includes |
|---|---|
| Standard skin cleanup | Blemish removal, minor redness reduction |
| Advanced retouching | Flyaway hair, under-eye circles, skin smoothing |
| Feature preservation | Wrinkles, natural texture, and permanent marks retained |
When choosing your final images, prioritize frames where your expression feels genuine over frames where every technical element is perfect. A technically sharp image with a forced smile will underperform a slightly softer frame where your eyes are engaged and your expression reads as approachable.
Key takeaways
A successful headshot session depends on preparation before you arrive, clear communication with your photographer, and trusting the coaching you receive during the shoot.
| Point | Details |
|---|---|
| Session structure reduces anxiety | Sessions follow five clear stages, so you always know what comes next. |
| Wardrobe choice affects image quality | Solid mid-tone colors and two outfit options protect your results under studio lighting. |
| Grooming timing matters | Schedule your haircut 5 to 10 days before the session for a natural, polished look. |
| Posing is coached, not assumed | Chin forward and down, shoulder angle, and expression cues are all directed by your photographer. |
| Retouching preserves authenticity | Standard edits remove blemishes but keep permanent features intact for a recognizable result. |
What I’ve learned after watching hundreds of people walk into their first session
The clients who get the best results are almost never the most photogenic ones. They are the ones who communicated clearly before the session, showed up with two outfit options, and trusted the process once the camera was rolling.
The biggest mistake I see is people trying to manage their own expression. They think about smiling, which produces a smile that looks thought about. The photographers who get genuinely great results are the ones who redirect attention away from the face entirely. Talk about your work, your weekend, your dog. The expression that appears when you are actually engaged with a conversation is the one worth capturing.
One more thing: do not wait until you feel “ready” for a headshot. Most people who delay are waiting for a version of themselves that already exists. The right photographer does not need you to arrive camera-ready. They need you to show up and let the process do what it is designed to do.
— Mike
Ready to book your professional headshot session?
Eric Campbell Photography offers professional headshot sessions in Fort Lauderdale tailored to executives, creatives, actors, medical residents, and corporate teams across South Florida. Every session includes pre-shoot consultation, active posing coaching, and fast gallery delivery. If you want a classic, polished result, the traditional headshot session is built exactly for that. Eric and the team handle the direction, the lighting, and the editing. You just need to show up. Visit ericcampbellphotography.com or call 954.766.1954 to plan your session.
FAQ
How long does a professional headshot session take?
Most headshot sessions run between 30 and 90 minutes, including wardrobe check, lighting setup, shooting, and image review. Longer sessions accommodate multiple outfit changes or branding shoots.
What should I wear to a headshot session?
Solid, mid-tone colors like navy, burgundy, or slate gray photograph best. Bring two contrasting outfits as a backup, and avoid logos, heavy patterns, and pure white or black.
Do I need to know how to pose for headshots?
No prior posing experience is needed. Your photographer will coach you on chin angle, shoulder position, and expression throughout the session, so natural-looking results come from the direction you receive, not from what you already know.
How soon will I receive my finished headshot images?
Proof galleries are typically delivered within one to a few days after the session. Final retouched images follow after you select your favorites. Eric Campbell Photography is known for same-day gallery previews for many clients.
What does professional retouching include?
Standard retouching removes temporary blemishes and reduces minor redness while preserving permanent features like wrinkles and natural skin texture. The goal is a polished image that still looks recognizably like you.